Meta Ads: 6 easy steps to build your Looker data source
The Meta Ads data connector for Looker Studio has been build with a 6 step data configurator. The Meta Ads insight API has a lot of un-documented rules around the configuration of your request. Our 6 step configurator compiles at each step to ensure you have made a valid selection of values to build your data source.
The 6 steps of Meta Ads Connector are shown below. :
Step 1:
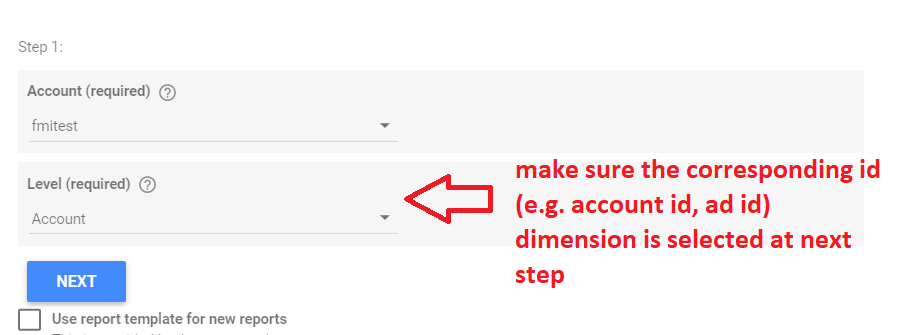
Step 2:

Step 3:1
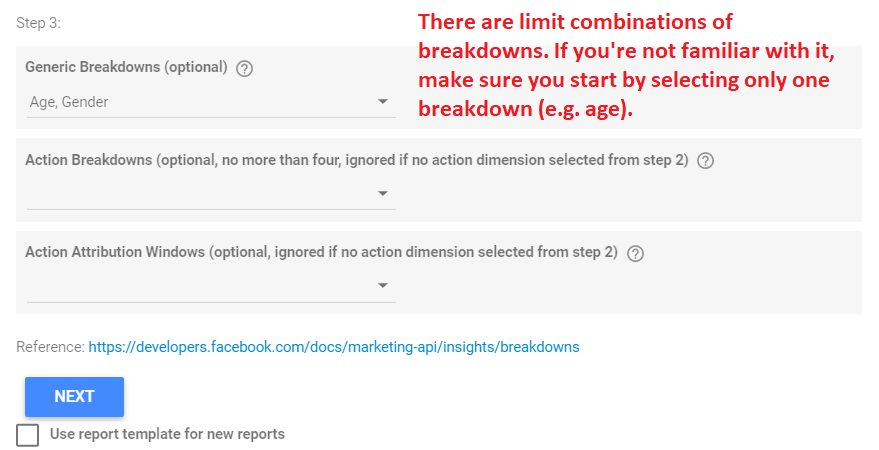
Step 3.2:

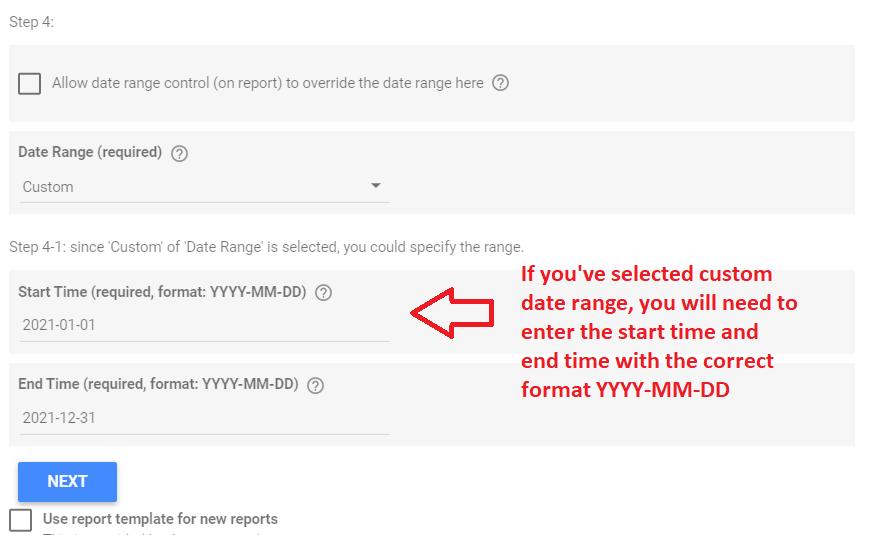
Step 4.1:

Step 4.2:
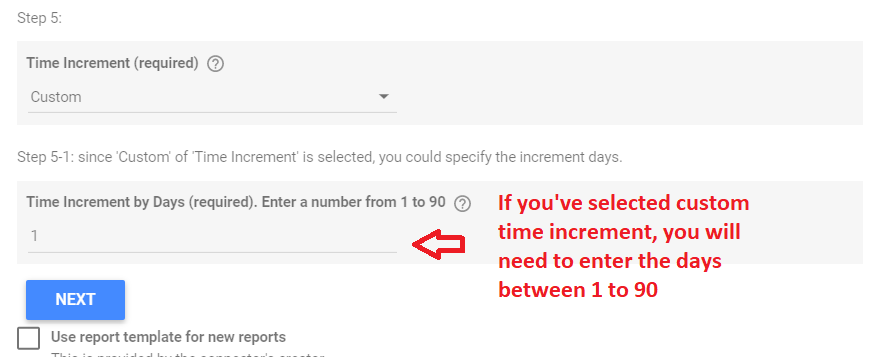
Step 5.1:

Step 5.2:
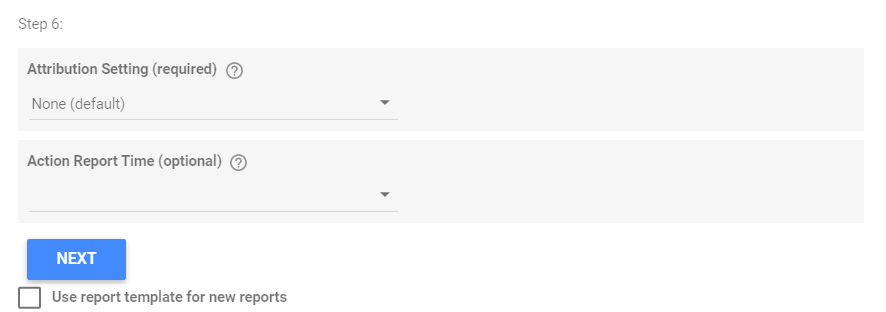
Step 6:
In addition, there are some helpful videos you can watch on our YouTube Channel Data Studio Tips & Tricks.
Related Articles
Meta Ads: Creating your first Looker Studio data source to build your custom Dashboard
Build Your Report Adding and authorising Find My Insight Meta Ads Connector in Google Data Studio. This guide shows you how to use a Find My Insight Connector for Data Studio, It's pretty simple, just add and then authorize the connector. This will ...Meta Ads: Creating your Connector Membership
Become a Member and purchase your Find My Insight Connectors Thanks for choosing a Find My insight Connector. First things first, you will need to sign up to our portal and become a member. Membership is free. Our privacy Policy can be found here and ...ActiveCampaign: Creating your first Looker Studio data source to build your custom Dashboard
Build Your Report Adding and authorising Find My Insight ActiveCampaign Connector in Google Data Studio. This guide shows you how to use a Find My Insight Connector for Data Studio, It's pretty simple, just add and then authorize the connector. This ...Looker Studio: Speed up your dashboards
Have you been in meeting or presentation and wanted to be able to share insight on Looker Studio but were hesitant because you never know how long you will be waiting your dashboard to render? If the answer to to that question is yes. Have you tried ...Stripe Payments: Creating your Connector Membership
Become a Member and purchase your Find My Insight Connectors Thanks for choosing a Find My insight Connector by Datagems. First things first, you will need to sign up to our portal and become a member. Membership is free. Our privacy Policy can be ...