ActiveCampaign: Create your Connector Membership for Find My Insight by Datagems
Become a Member and purchase your Data Studio Connectors
Thanks for Choosing a Find My insight Connector. First things first, you will need to sign up to our portal and become a member. Membership is free.
Our privacy Policy can be found here and our terms of service here.
1- You can navigate directly to our sign up page. https://member.findmyinsight.biz
2- Once there create your own profile. You cannot change your email once you have set up your profile. If this is for a client account we recommend getting a generic email address set up that you can use. Either a dedicated email box or alias. Something like

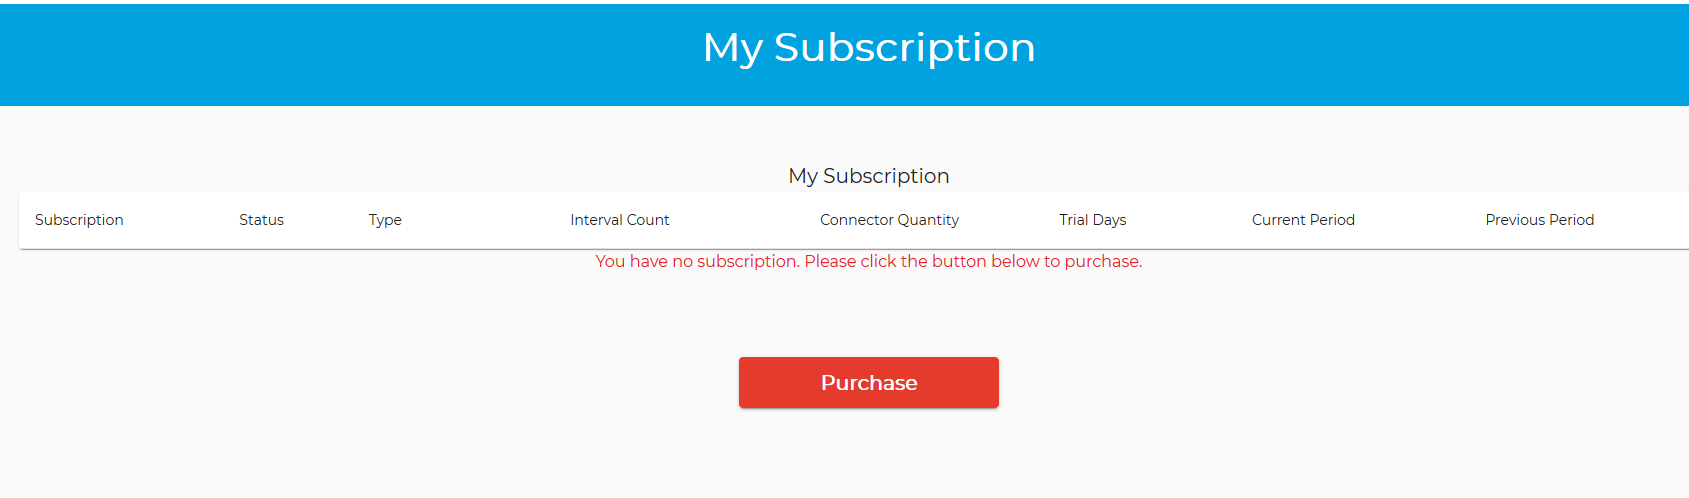
3- For your Connector to work you will need to purchase a monthly or annual subscription. We recommend start with Monthly.
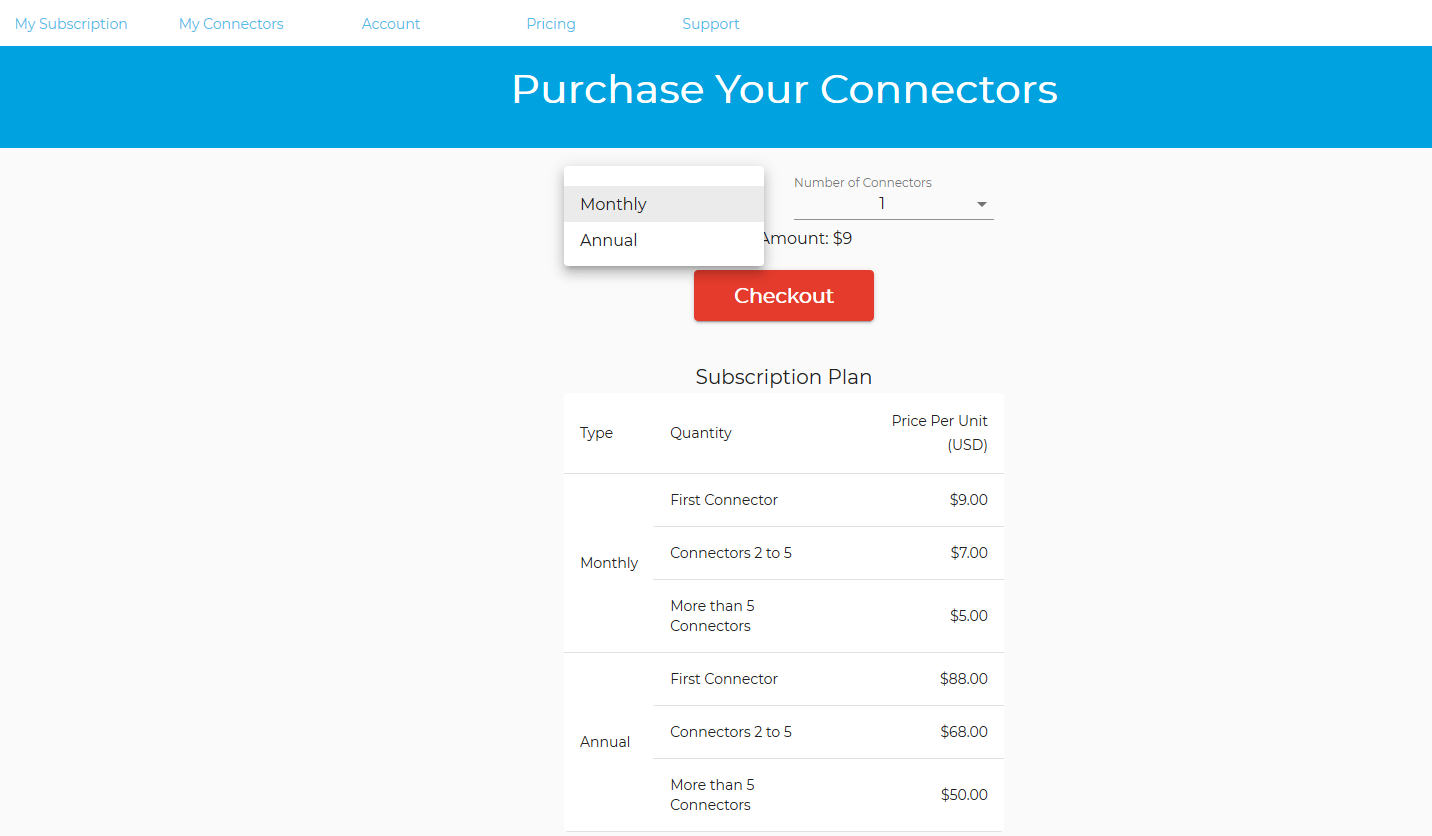
4- The purchase page will look like this. You can choose monthly or annual. Select the number of connector subscriptions you would like. The more you buy the better the price and save approximately 20% when you choose Annual. We use Stripe for our payment so it's fully secure.
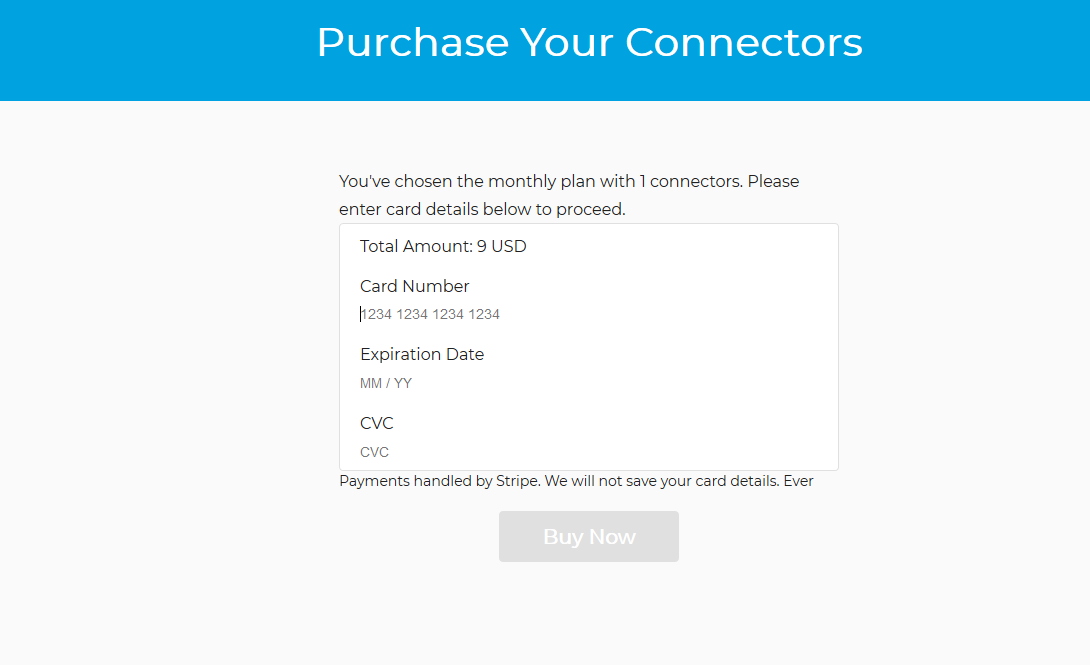
5- Enter your Credit Card details.
6- Now add your Connector from the button or you can navigate to Add Connector
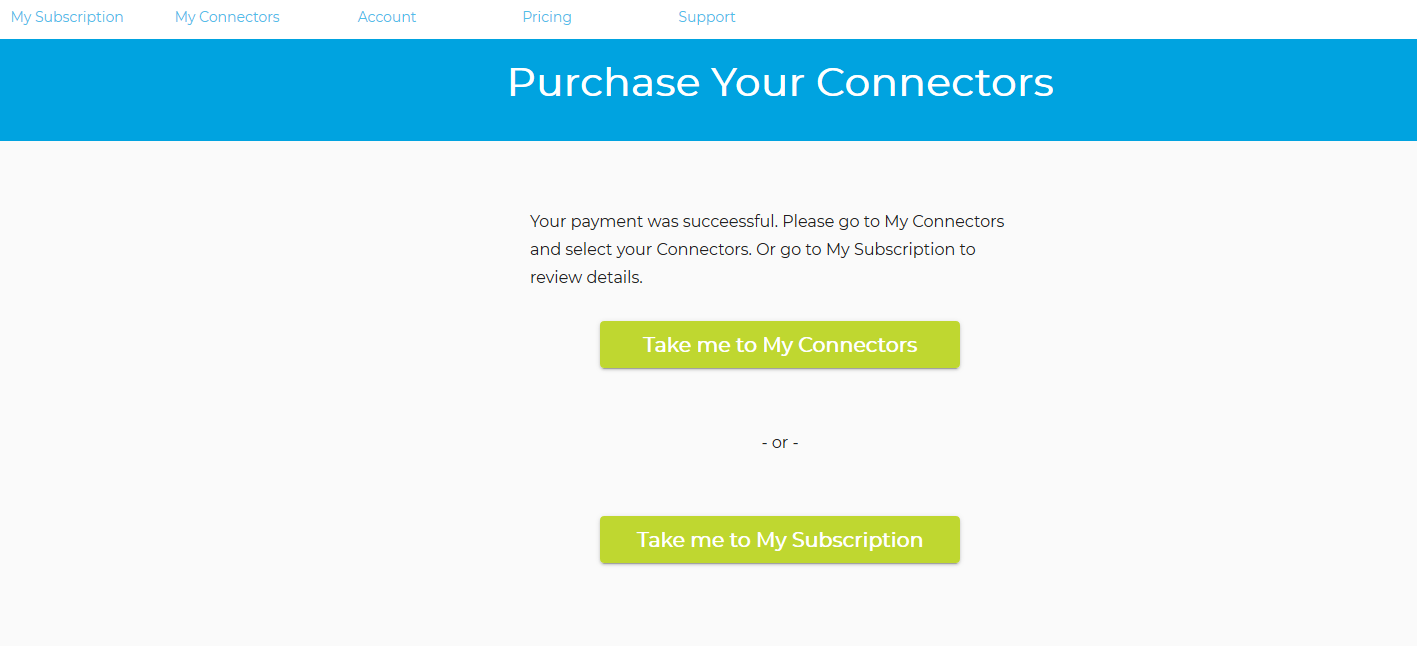
7- Now add your Connector from the button or you can navigate to My Connectors
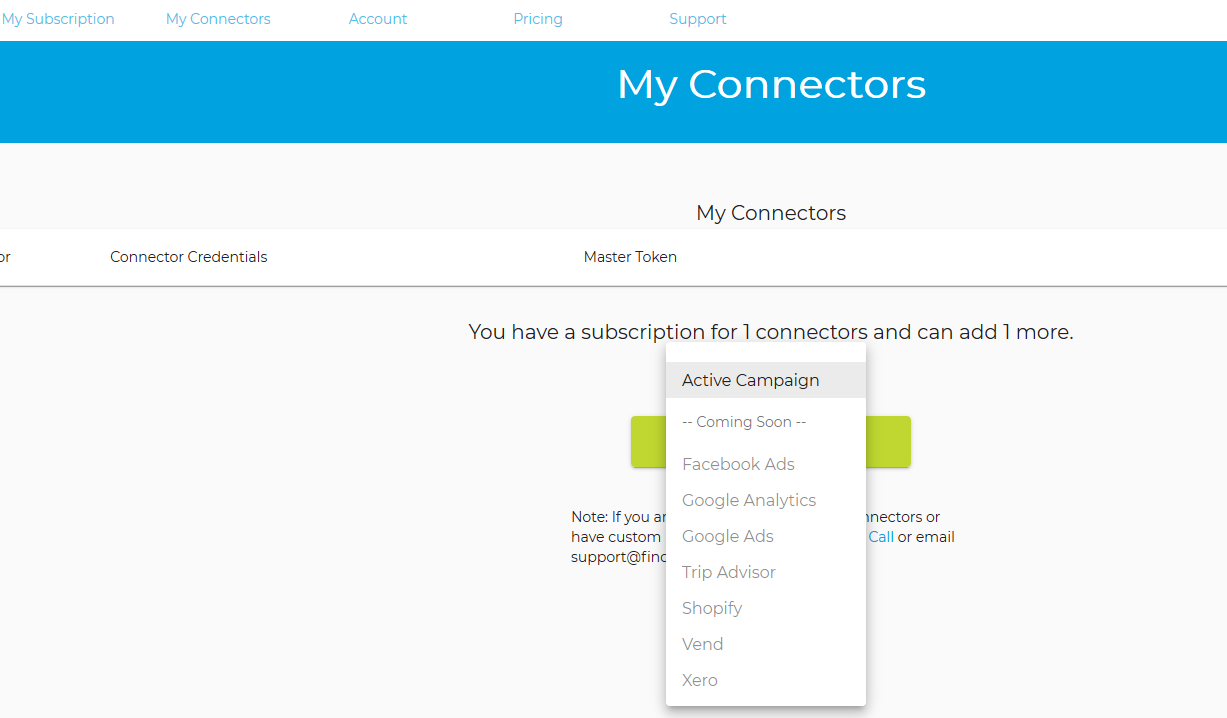
8- Upon choosing your SImplifier Connector you will be asked to add your credentials from your Cloud service. In this example we show the ActiveCampaign requirements. Each Cloud service has different requirements and this will be show to you on the Configure My Connector page.
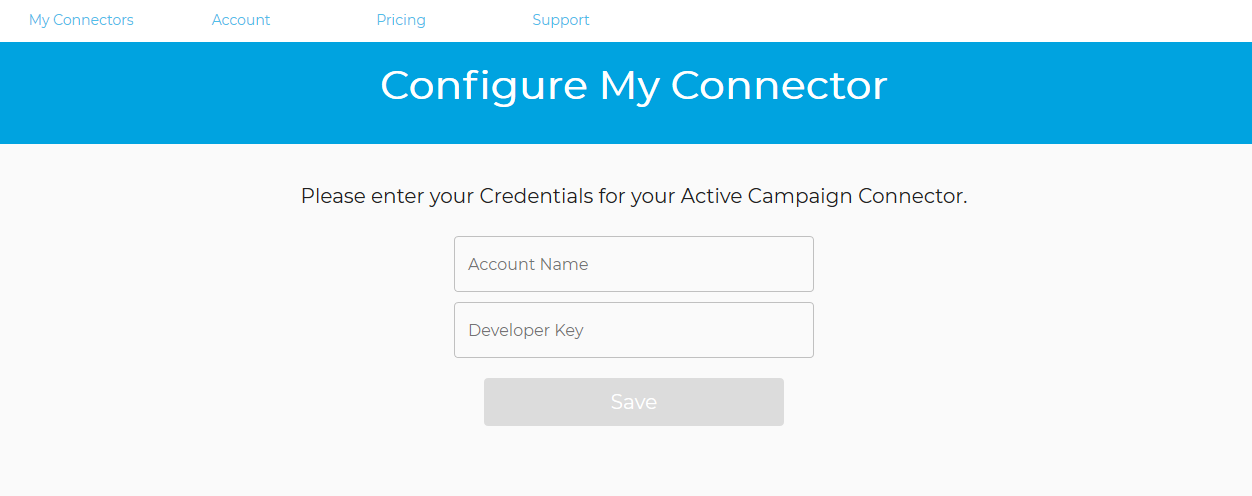
In this example we have chosen the ActiveCampaign connector, simply go to the developer settings page in ActiveCampaign and enter the URL and Key

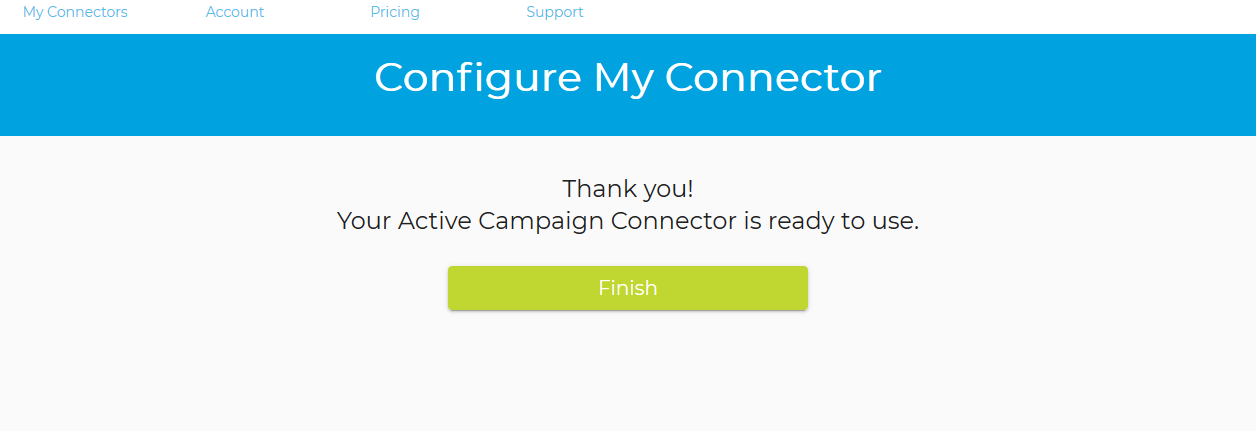
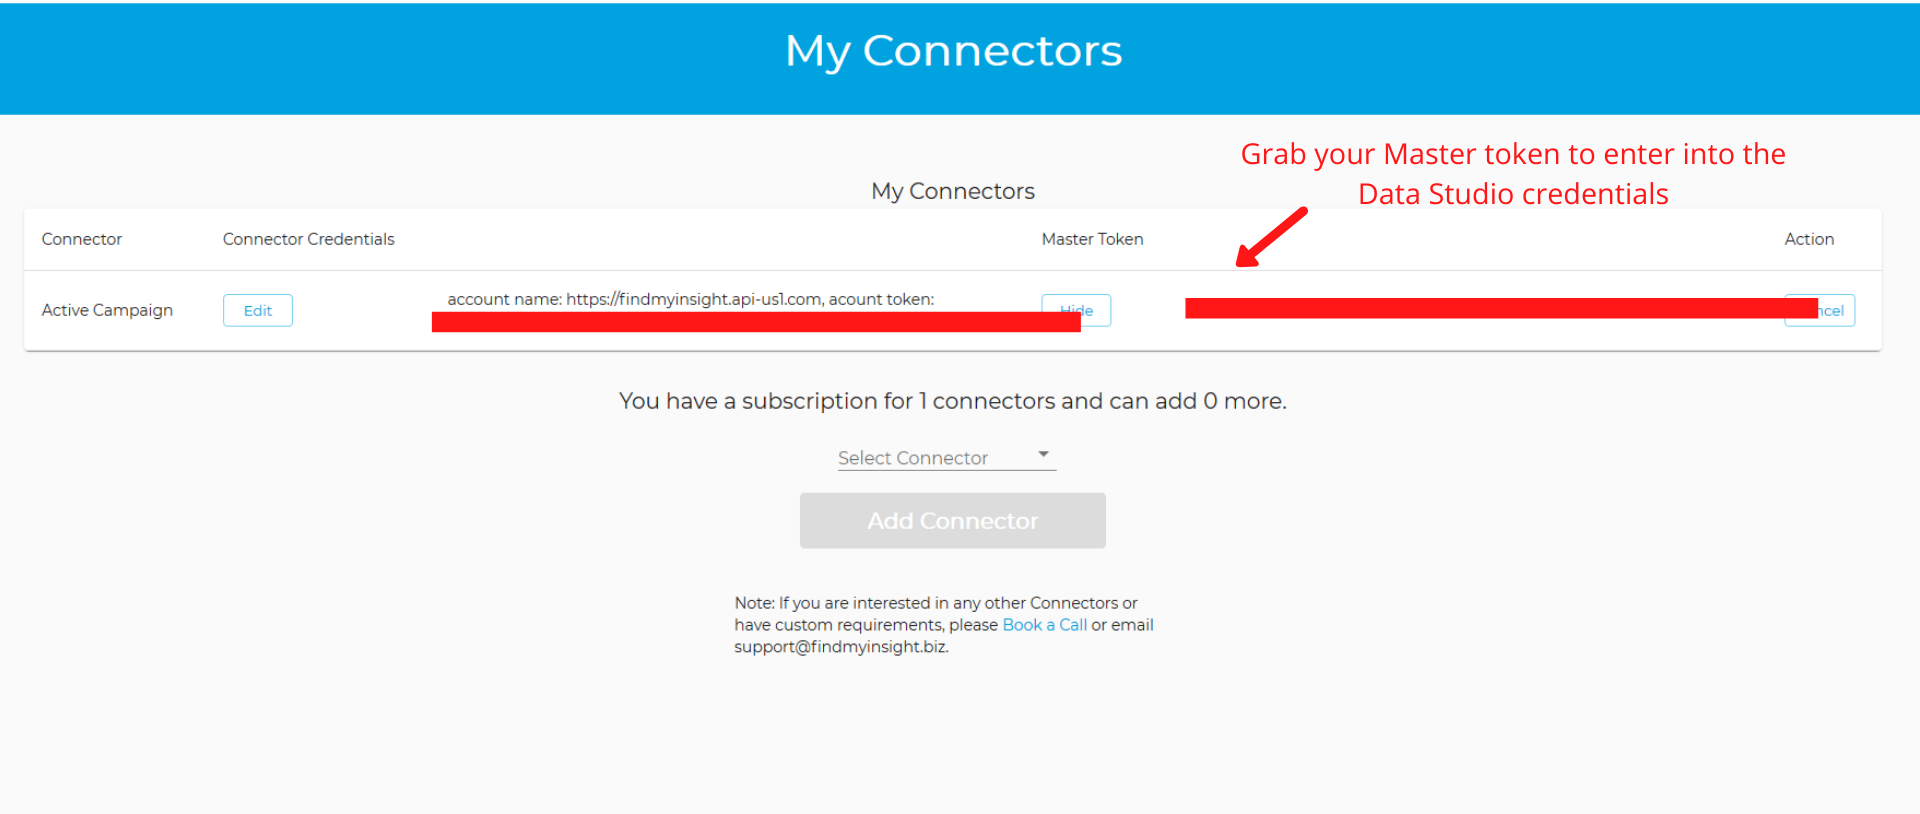
9- Your Connector Master Token is now ready. Go to the My Connectors Page
Copy your Master Token from the My Connectors Page. You are now ready to build your Dashboard in Google Data Studio
Related Articles
Stripe Payments: Creating your Connector Membership
Become a Member and purchase your Find My Insight Connectors Thanks for choosing a Find My insight Connector by Datagems. First things first, you will need to sign up to our portal and become a member. Membership is free. Our privacy Policy can be ...Meta Ads: Creating your Connector Membership
Become a Member and purchase your Find My Insight Connectors Thanks for choosing a Find My insight Connector. First things first, you will need to sign up to our portal and become a member. Membership is free. Our privacy Policy can be found here and ...ActiveCampaign: Creating your first Looker Studio data source to build your custom Dashboard
Build Your Report Adding and authorising Find My Insight ActiveCampaign Connector in Google Data Studio. This guide shows you how to use a Find My Insight Connector for Data Studio, It's pretty simple, just add and then authorize the connector. This ...ActiveCampaign: Error code 403
When you receive the error code 403 'The request could not be authenticated or the authenticated user is not authorized to access the requested resource' ( For a full list of errors please refer to ActiveCampaign API document here as the last ...ActiveCampaign: Adding multiple ActiveCampaign accounts to your subscription
If you want to build dashboards for 2 or more ActiveCampaign accounts it's very easy. Sign up on our member portal and start a subscription with 2 (or more) Connectors as per the first screenshotn the My Connectors page, click Add Connector button ...